
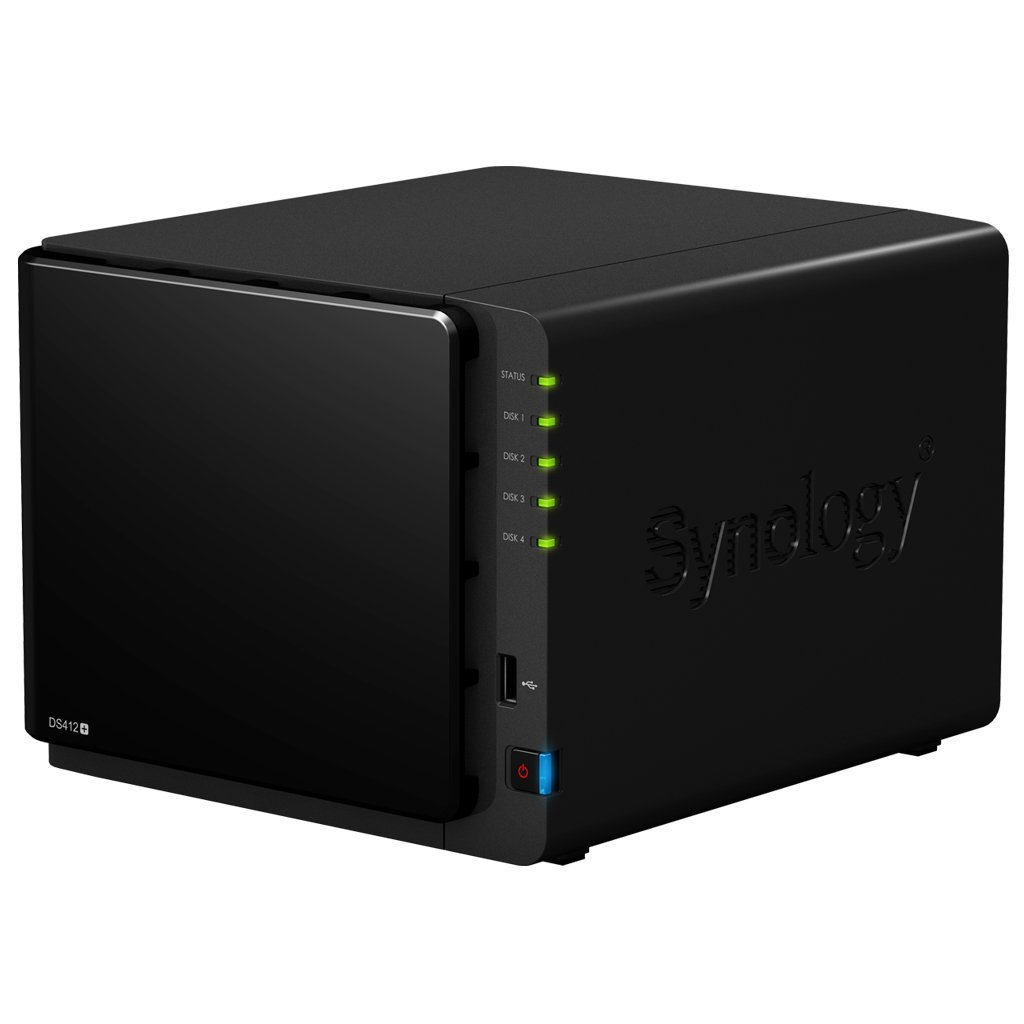
I think I've solved my storage problems once and for all. It's taken me a while to pull the trigger on this purchase, but my previous NAS and its 2TB drive was almost full. The Synology unit is obviously way more expensive, but it does so much more, it's not even fair to call it a NAS. It really is a full-blown linux server, and when you consider all of the software that comes pre-installed, and all of the software packages developed by members of the Synology community, there is really no comparison to any other product available. This particular model may not be for everyone, but if you are like me and have a lot of media (and are planning to have a lot more in the future), and have a number of devices you want to play it on, you can't go wrong with Synology. Also, a 4-bay unit does a good job of future-proofing.
One of its features that I like the most is the web-based GUI. It's a lot more convenient (and less overhead) than running VNC, and they have done a fantastic job of recreating a Linux desktop environment in the browser window. After you've used it, you'll wonder why every server doesn't have one.
Here I'm going to include some of my notes from when I set this up for anyone else out there who might run into the same issues I did:
- Permissions - First, if you follow the printed instructions that come with the unit for the Quick Setup, do not allow the autorun from the CD. Run the setup.exe maually and make sure to run it as admin (in Windows 7). Otherwise, it will appear to run and go off and do something, but unless you are running as admin it won't have the permissions to install Synology Assistant, and it won't do anything at all.
- Network Backup - I used the Synology to get around the restrictions that Windows 7 Home has on backing up your data to a network drive. Microsoft wants you to upgrade to Windows 7 Professional or Ultimate to enable this feature, but with the Synology you can easily set up an iSCSI drive in Windows and use it as the destination for your backup. You will need to run the Storage Manager from the Synology GUI and create separate iSCSI LUNs for each virtual drive, and separate iSCSI Targets for each PC on your network that you want to backup. Then you will need to run something called the iSCSI Initiator in Windows (from the Start menu just search for "iSCSI" to find it) on each PC, and point it to the iSCSI Target. Remember to size the individual LUNs to match the size of the hard drive you are backing up.
- Media Server - I have a first generation Roku that we use primarily for streaming music in the kitchen, and the Synology unit has made everything so much simpler. Previously, We were using Roksbox to play the music, which was okay, but it involved setting up a web server to stream the content, and installing MediaMonkey to create playlists. It was a hassle. With the Synology, you just install the Media Server package and it will automatically create folders for music, photos, and video. Put your content in these folders and they will be available to any DLNA media player on your network. Then install Roku Media Player and you're done. You can also install the Audio Station package on the DiskStation and use it to create playlists. Simply go to your Library, right-click on a folder and add it to your Playing Queue, then go to your Queue and right-click on a song to create a shared playlist. The playlist will then show up under playlists on the Roku Media Player. If you have a USB speakers plugged into the Synology, you can also use it as a jukebox and use Audio Station to control it.
- Stress Test - Right after I got things set up, I wanted to see what this little server was capable of, so I started music streaming on the Roku, and had two ripped DVDs streaming on two different TVs, all at the same time. I left it running for a good ten minutes to see if there would be any buffering or other performance issues, and had no problems at all. I also tested simultaneous disk accesses after I got the iSCSI set up - I had backups running on both PCs over the network while also copying media from an external USB drive plugged into the back of the of Synology unit and had no issues there either.
- Cloud Backup - I haven't fully explored all of the options available here, but one of the pre-installed packages is for Amazon's Glacier backup service. I did notice a performance hit while this service was actively uploading files to the cloud, and when we suffered a power failure at the house, the backup did not automatically resume. Glacier seems geared for small businesses, but I wanted to try it to see if it worked as well as Carbonite because for the amount of data I backup, Glacier (at a penny per GB per month) would be significantly cheaper. For now, I will stick with Carbonite.
- Perl - I have installed the Perl package and set up a scheduled task to run a Perl script on a daily basis. This was pretty simple, and works very well. The only issue I ran into was that the Perl script itself must use absolute paths when accessing the file system. I couldn't get any relative path references to work correctly, even when the output file was in the same directory with the script.
- Lastly, because we're a Minecraft family, I did install the Minecraft package that is available for Synology. The DS412 seems to have the horsepower to run it fine (although I never tried with more than one user at a time), but I wasn't able to copy my existing world over onto the DiskStation and have it load correctly. So until someone comes up with a solution for this, I guess we'll stick with our current Minecraft server.